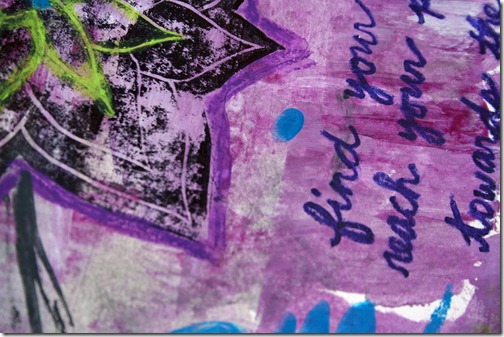
Forgotten Dreams

When I was a little girl I loved to dance.

Any kind of dance, any kind of movement.

As I grew older I started to believe as fact lies I told myself.

My hips are too tight, I have the wrong body shape, I’m not flexible, I have bad feet.

So many reasons why, if I wasn’t naturally perfect at dancing, I should just quit.

And I listened.

I reserved my dancing to moments when I was alone.

By myself I would twist and twirl, move my hands artfully through space, flowing to the music in my mind.

As I grew older and way too serious, the spontaneous dancing stopped (save the occasional dance party with my 3 year old).

I’ve been reading a book, doing a lot of internal digging, uncovering dreams I forgot I used to have.

Do I think I’m too old to have a career in dance? Certainly.

Do I feel like I am too uncoordinated to take a ballet class in public?  Absolutely.

However, I’m not too old or too uncoordinated to rent dance instruction DVDs from the library and do them when no one is watching.

I’m coming to a place where I realize I can choose not to believe absolutes that I’ve told myself my whole life.

And there isn’t merely ONE way to taste my dreams.

Are there dreams you’ve given up on that you would like to experience again?  In some capacity?

XO,

the budding, closet-dancer

Supplies used:  an old dress pattern, Elmer’s spray glue, acrylic heavy body paint, glazing medium, Martha Stewart stencil (Arabesque), hand-carved geometric stamp, archival ink, Stabilo Marks All pencil, white out pen, image from 1984 National Geographic, matte medium, Martha Stewart metallic glass paint

Hand Carved Stamps

“It is not because things are difficult that we do not dare; It is because we do not dare that they are difficult.”  ~ Seneca

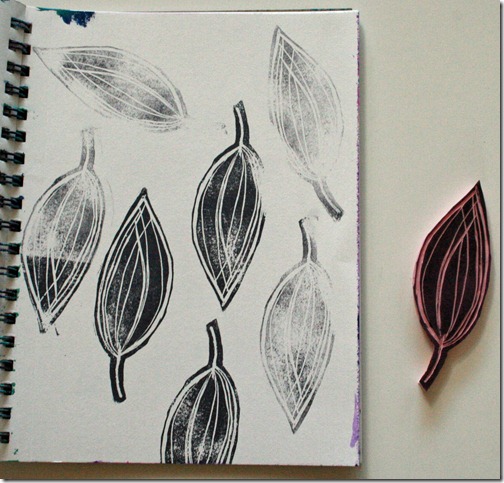
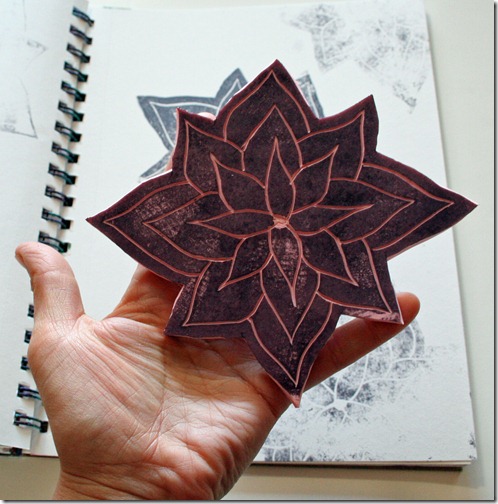
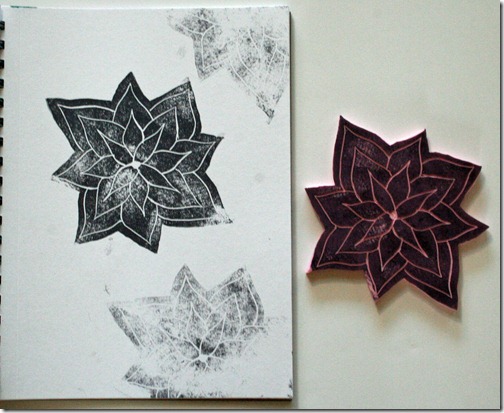
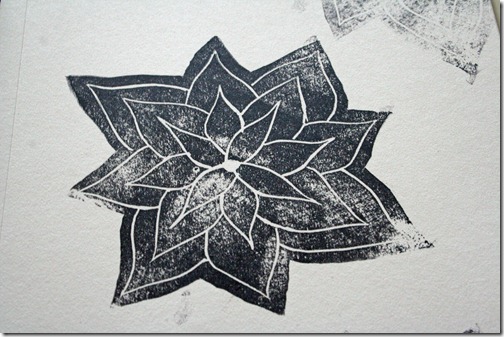
I’ve been wanting to carve my own stamps for a while now.  I bought the supplies last week, but was really nervous to start.  Looking back, it seems so silly!  These were ridiculously easy.  I used Speedball Speedy-Carve as the stamp material and a linoleum cutter to make the design.  Cutting into the stamp was like cutting into butter!

Here is a run down of the process I used.

Make a sketch in charcoal.  I just sketched on regular watercolor paper from my journal.

IMG_3414

Place the sketch face down onto the stamp material and rub along the back.  You could use a credit card, brayer or that blue thingy in my picture that I have no clue what it’s name is.

IMG_3401

Next, take a linoleum cutter and “scoop out” the drawn lines.  You could also do the reverse of this and scoop out everything but the drawn lines.  I’m thinking I may do that on the back side?  After that, I cut around the stamp design with one of the attachments for my linoleum cutter.  You could use an Exacto knife for this, too.

IMG_3413

Make a few test stamps, do additional cutting if needed.  Voila.

IMG_3410

IMG_3411

Then be ready to start number two, because as soon as you are done, you WILL be addicted.

IMG_3407

IMG_3404

IMG_3405

Annnnd number 3:

IMG_3447

I have enough stamp material left to do another 4 stamps (plus a few small ones). 7+ unique stamps (14 if you carve the backs) for $13 is a screaming deal!

Started a few journal pages playing around with the new stamps… I can easily see this becoming a new obsession!

IMG_3441

(Find your roots. Reach your petals towards the sun. bloom.)

IMG_3442

IMG_3444

IMG_3445